Essential Cat-Eye Nail Designs You Need to Learn
Cat-eye/magnetic nail looks are extremely popular, with more and more unique gel colors and innovative designs being created. While these looks might seem intimidating to nail techs, we put together a guide to help break down the steps and teach you how to achieve a few different kinds of cat-eye nail looks to add to your repertoire.
How to Use Magnetic Gel
Using magnetic nail polish can seem like it’s complicated and a bit intimidating. We get that! Our goal is to break down the steps and simplify the process, showing you how to achieve various nail designs with magnetic gel to make your life easier when a client requests a specific design
- Prep the nail and apply a base coat like you normally would.
- Apply an even layer of magnetic gel over the nail.
- Before curing, use your magnet to get your desired design in place.
- Cure the nail for 60 seconds.
- Apply your top coat and cure the nail for another 60 seconds.
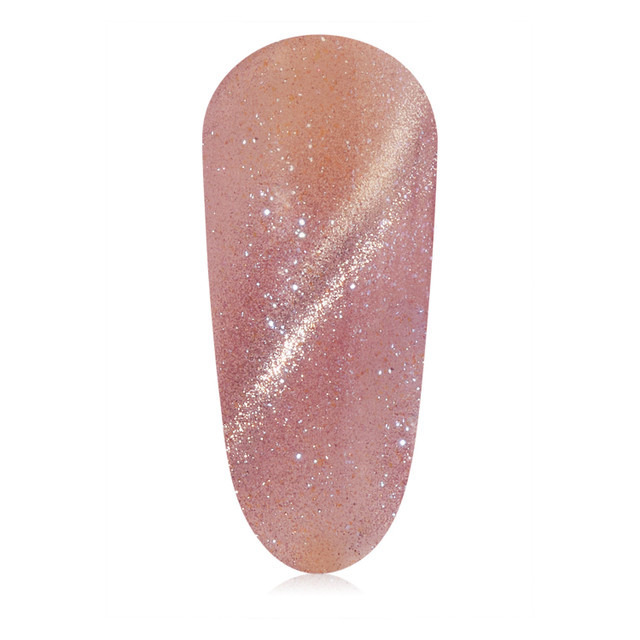
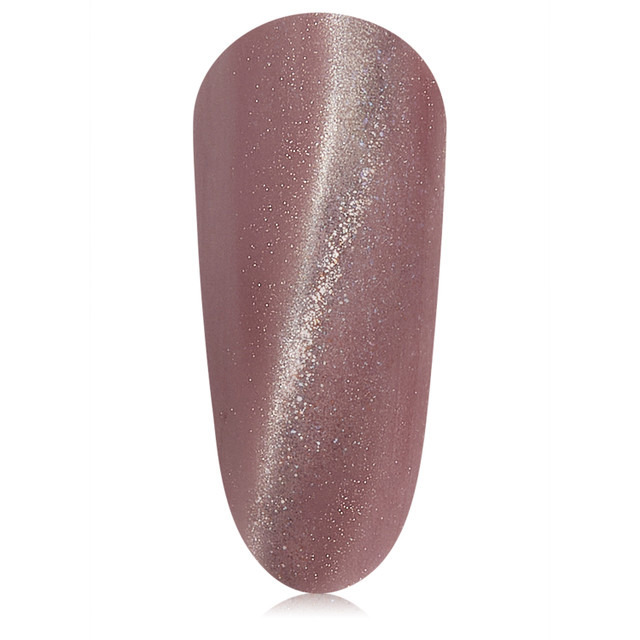
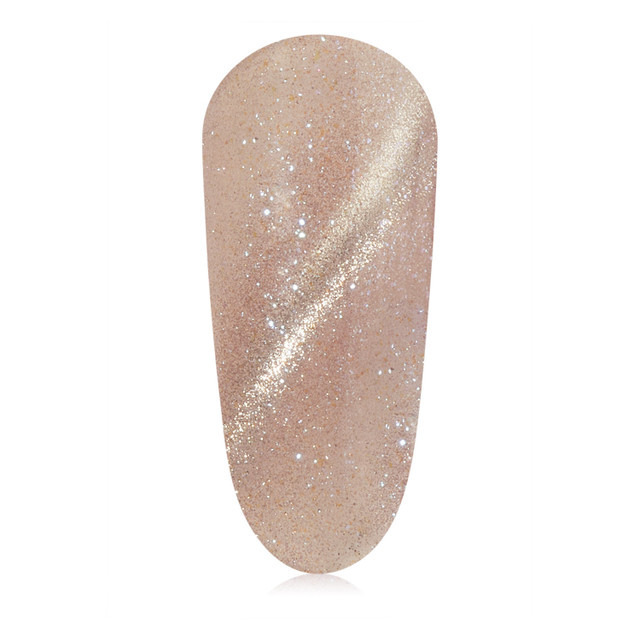
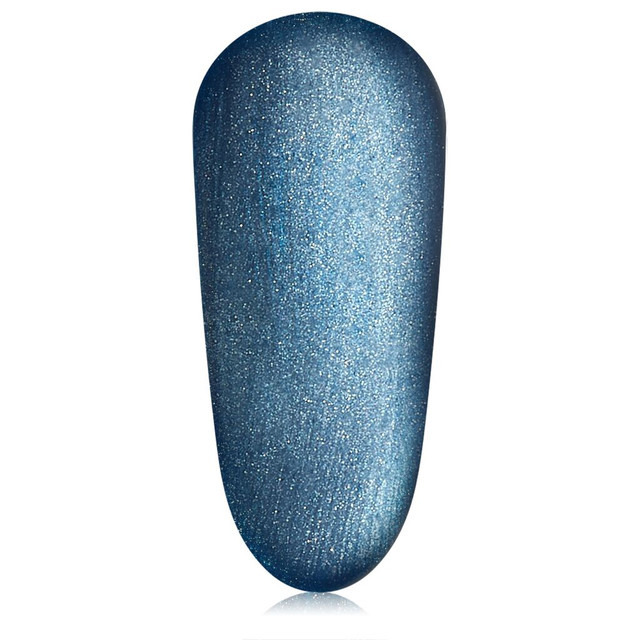
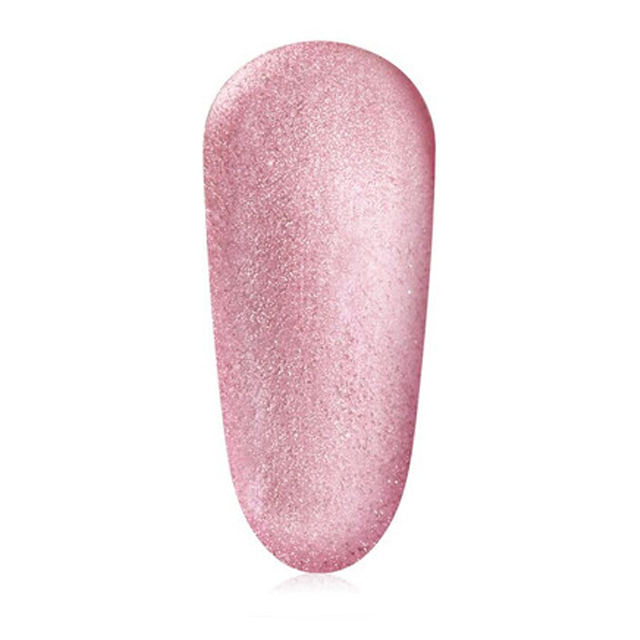
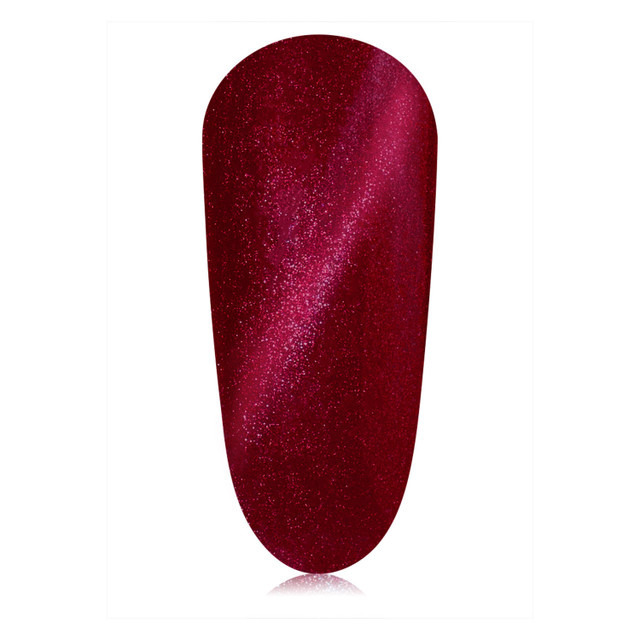
The GelBottle Cat-Eye Gel Polishes
|
|
|
|
|
|
|
|
Cat-Eye Nail Designs
Stripe
A stripe magnetic nail look is the easiest cat-eye nail design to achieve. All you will need is the Dual-Ended Magnetic Tool and one magnetic gel polish. After applying your magnetic color, hold the rectangular side of the magnet in a diagonal line above the nail. Wait for the magnets to form the stripe design, and once you’re happy with it, cure the nail. Apply your top coat and cure!
View this post on Instagram
Velvet
Velvet nail designs have become extremely popular year-round, and especially during the holiday season. This design can be a little trickier, but we’re confident that you’ll be able to achieve the perfect velvet cat-eye design to offer to your clients.
- Apply a base coat, preferably a color other than nude. If you use a white base, it can really help the glitter in the magnetic gel layer pop.
- Apply an even layer of your cat-eye gel polish.
- Before curing, bring a circular magnet around the sides of the nail. You’ll want to hold it there and move it for a bit to get all of the magnets in your desired area. You’re looking for the glitter to be mainly focused on one side of the nail.
- We recommend curing the nail after this step, one nail at a time. This will help to ensure the magnets don’t move around while you’re working on another nail.
- Apply a top coat and cure.
View this post on Instagram
French-Tip
French-tip nails will always be a classic, but if your clients are looking for a French-tip with a little more spice, try mixing it up with a cat-eye French-tip look. This look follows the exact instructions as the velvet cat-eye design, except you only apply the magnetic gel in the tip area of the nail.
View this post on Instagram
Heart
We know, we know. The heart cat-eye nail design is the bane of every nail tech’s existence. Hear us out – it’s not impossible, and we’re going to break down the steps so you can learn how to achieve the heart magnetic look. You’ll need to get a metal wire that is somewhat thick, but can also be bent.
- Take a piece of wire that is about half the length of your nail file and bend it in half.
- Take the ends and twist them together three times.
- Fold it in half to make a 90-degree bend.
- Bend the ends downward and separate the tips to make a V-shape.
- You can cut the V-shape if you’d like; the longer the V, the longer the heart.
- Use a strong magnet to bring the glitter particles to the center.
- Once the glitter particles are in the center, use your twisted wire and bring it to the top of the nail. You want the wire to run flat and parallel to the nail. Make sure you’re not at an angle.
- You should see the glitter move around the metal wire to create a heart design. Once you have the desired heart cat-eye shape, cure the nail.
- Apply a top coat and cure!
View this post on Instagram
Tag us In Your Cat-Eye Nail Designs
Make sure to try out these different designs with our new drop of 14 different magnetic gel polishes and tag us on Instagram. We’d love to see the looks you create!